Changing the brush cutter line: maintenance guide
Maintaining garden tools may seem like a complex task, but we'll show you how to change thebrush cutter wireturns out to be simpler than it seems.
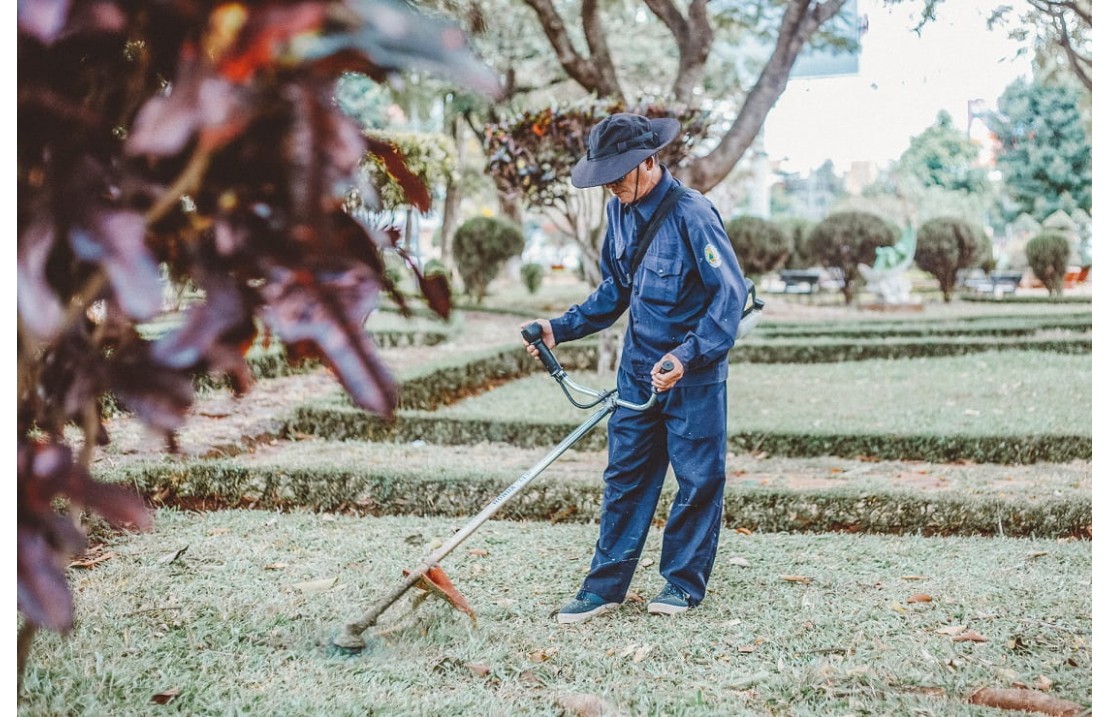
When temperatures rise and vegetation begins to grow more rapidly, we atBazargiustowe advise you to pay particular attention to the tools that help you take care of your garden. In this article we will see together all the necessary operationsfix your brush cutter- the right tool for maintaining your green spaces.
It can be used for pruning hedges but also for cutting weeds and climbers. It is particularly effective in areas that a normal lawnmower struggles to reach: iedges of the flowerbeds, theareas near networks or walls, and theareas with very tall grass.
If you're wondering how to keep your brush cutter productive and efficient, read on:we have prepared a guidethat answers all your questions.
Why does the brush cutter line break?
The mechanism of the brush cutter is very simple: fromtwo ends of a nylon thread come out of the head. When the engine is started the head begins to rotate and the two ends rotate with ever greater speed, like the blades of a helicopter.
The brush cutter's wire cuts brambles, grass and small shrubs: however, when faced with small obstacles - stones, branches, cans and waste -risks wearing out and breaking.
To keep it longer, it is necessary to keep an abundant quantity of water inside it. Once you have finished using it, place the thread in a wooden box and keep it in a cool place away from the sun to prevent it from drying out. The optimal solution would be toput it in water two days before using itagain.
Changing the brush cutter line is the right time for the "maintenance" jobs we talked about above: cleaning and changing the head, lubricating the bearings and the spool (KawasakiorHusqvarna, for example). All these operations must be carried out with care and delicacy, without damaging the elements of your appliance: you will thus avoid having to make further repairs.
Sooner or later it will be necessary to change the thread, but don't worry: as you continue reading you will see that it is asimple and intuitive operation, within everyone's reach.
.jpg "Smontare testina decespugliatore")
Changing brush cutter line: general rules
Before starting to assemble the brush cutter line, make sure you:
- have thespare skein of yarn;
-turn off the engineof the brush cutter;
- if your tool is powered by electricity,wait for it to coolto avoid burning yourself;
- check that thewire is compatiblewith your brush cutter model;
- make a littlebias cut on the ends, so you can easily insert the thread and use it like the tip of a needle.
To understand the length of the threadjust look in the instruction bookletorask for assistance on our websiteBazargiusto. If you don't find the information you are looking for, keep in mind that the length usually varies from 3 to 7.5 meters.
In case of indecisionit is better to abound: if the cable is too long you can cut it later, while if it is too short you will have to get a new one!
Different heads have different mechanisms
Over the years, brushcutters have diversified into many models:
-battery powered brush cutter;
- electric brush cutter;
-petrol brush cutter;
-backpack brush cutter;
-brush cutter on wheels.
Tap and go head
There“tap and go” head, born in the 90s, is the most common model and has taken the place of the old manual heads. If the line becomes short or worn during cutting, it can be lengthened again without turning off the brush cutter.Just hit the head on the ground, and the thread stretches until the skein runs out.
To change the "tap and go" brush cutter line, simply:
1)open the headpressing the two tabs;
2)bend and measure the wirebefore inserting it into the appropriate holes;
3)wrap the wirefollowing the direction of the arrows printed on the reel;
4)block the last 15cm of the two endsof the thread and fit them on the edge of the bobbin;
5)close againthe head and pull the two ends of the thread to free them.
The length and diameter of the wire suitable for the model of your brush cutter are fundamental parameters: the choice of the cable is a topic that we atBazargiustowe have already addressedin this article.
Alittle trick, for when you change the "tap and go" brush cutter line, consists ofleave one end 15 cm longer than the other.
The long end will stick out as much from the head as the short end, because it will have made an additional half turn around the spool.
.jpg "Cambio filo decespugliatore elettrico")
Quick loading head
It is the evolution of the “tap and go” cartridge. In fact, you can also carry out the operation from the outside, without opening the head to change the brush cutter line. The significant difference compared to the previous model is thecoil hole alignment(the internal part)with cable exit holes.
Changing the brush cutter line, in this case, is even easier. It is enough for you:
1)align the exit holewith the through holes indicated by the arrows;
2)insert one end into the first hole, to allow it to exit from the opposite side (there are needles that further simplify the passage);
3)check that the ends protrude from the two holes with the same lengthand rewind the line by rotating it with the brush cutter mechanism.
The advantage of the fast loading head is thatnot having to dismantle anythingwhen changing the brush cutter line: even the less experienced will be able to carry out maintenance operations quickly and effectively.
Manual loading and releasing heads
These are now outdated models that were mounted on brushcutters especially in the mid-1990s. They are very similar to "tap and go" heads and differ from modern brushcutters due to theirmanual mechanism that allows the thread to come out. Each time you consume it you need:
1) detach the brush cutter from the harness;
2)widen manuallythe support knob;
3) extract the thread;
4)tighten the knob again, before starting your work again.
As far as assembling the brush cutter line is concerned, the steps to follow are always the same.
Manually loaded and released heads are impractical and very inconvenient: they require frequent stops to lengthen the thread, and acareful maintenance for damaged components.
Split heads
This is instead a recent model that allows you to use somepieces of wire, stopped by a screw system or a knot.
Numerous clips give the impression of having greater incisivenessin garden care: if on the one hand they allow a certain optimization of the life of the wire, on the other hand they cause different problems.
The heads, in fact, are small in size, and the rotary movement becomes dispersive,going to burden on the engineof the brush cutter and even more so on the clutch.
.jpg "Erba appena tagliata in giardino")
General maintenance: disassemble the brush cutter head
We have therefore seen that the wire wears out and breaks, but also the brush cutter head - which contains the wire - can be damaged.It is made up of several plastic elements- usually sold together - and it is normal that it needs to be replaced from time to time. If a part breaks, the various components must be dismantled.
To change the head of the brush cutter, simply place it on the floor and place the rod on it,securing it between your legs to keep it in place.
Get oneAllen keyand insert it into the hole above the head to lock the rotation mechanism. Begin turning the plastic head until the key clicks into place. Once the shaft is stuck, you can unscrew the head inCounterclockwise- the most common in “tap and go” models - and remove it from the support.
With the headthe metal discs are also removedthat serve to hold it in place: remember the order in which they came off and clean them carefully.
If you need to change them instead, take a look at thekit for mowing robust vegetation.
You can then screw on the new head by following the reverse procedure to the one described:
1) reseat the disks;
2) put the Allen key back in the previous hole and lock the shaft;
3) screw the new head;
4) remove the key.
Once you have completed all these operations yourbrush cutter is ready againto take care of the garden!
In case you still have doubts or curiosities about assembling the line or changing the brush cutter head,contact us! We atBazargiustowe will be happy to help you prepare your garden for the arrival of the summer.
All comments